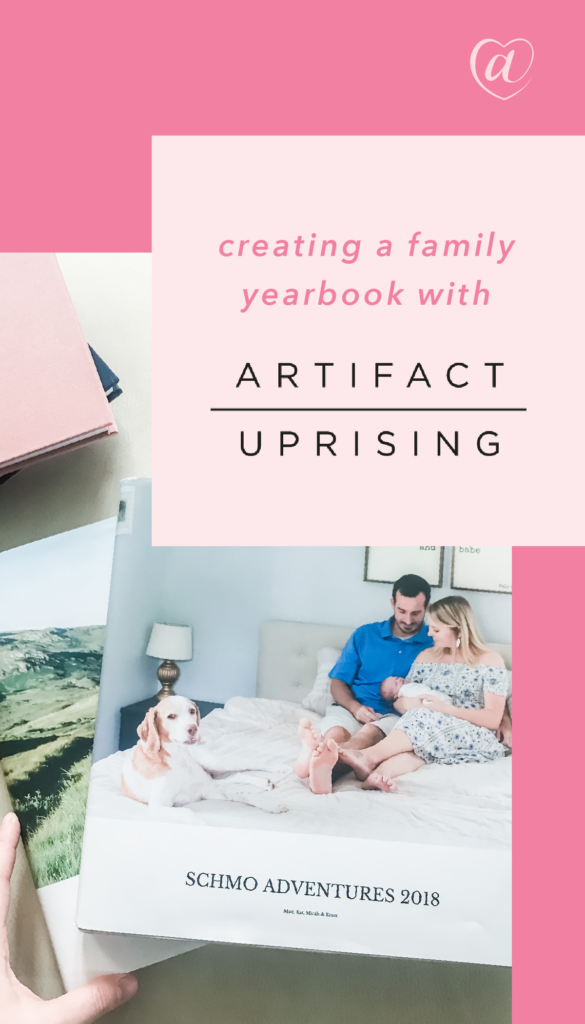
I’m going to show you how I create a Family Yearbook using my iPhone, Dropbox and Artifact Uprising!!
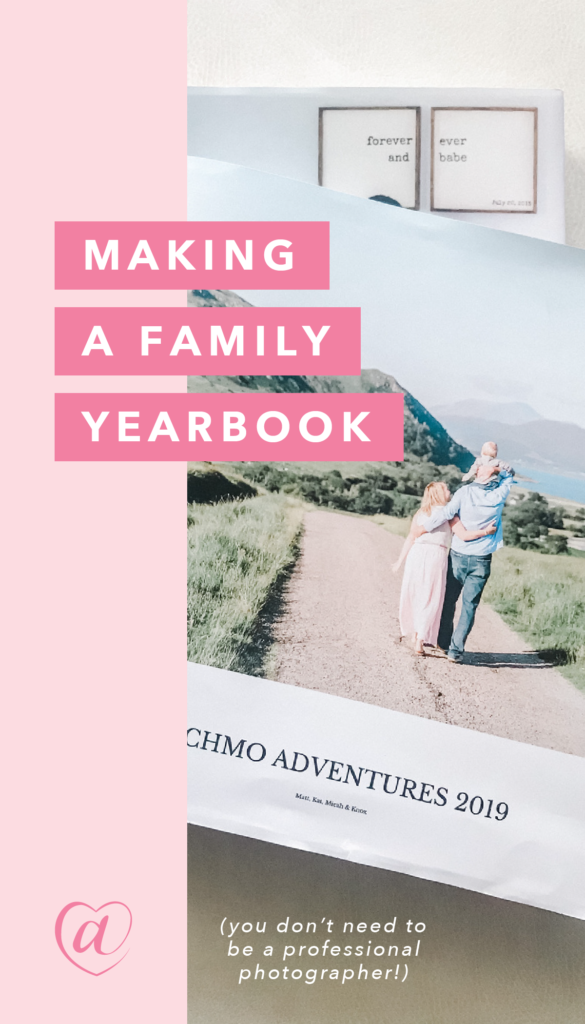
3 years ago when I was pregnant with Micah, I began to question how I would keep track of photos of him. My mom has so many photo albums of me and my brother (you know the kind I’m talking about!) and she is constantly pulling them out at family gatherings. Like my mom, I felt the weight of the responsibility of keeping track of memories + moments for my own kids – yet I knew the “old school” photo album wasn’t the best method for me.
One great thing about our phones is that we have instant access to a camera! We take WAY more photos of our kids than our parents ever did because of how easily accessible photography is for us!!! The PROBLEM is that we take SO MANY and then let them sit on our phone forever!! We don’t print them, cherish them or reflect back on them enough.
I wanted to document my child’s life, but also USE the photos in a way that felt REALISTIC for me to KEEP UP WITH throughout the year itself AND over the years as our family grew! I wanted a method that was fun, simple and would work long-term! Sound like you?! I’ve got a solution that works year after year – – –
Insert: The Family Yearbook
This is my third year implementing this system so I can say without-a-doubt that it WORKS and has grown with my family from one child to two!
Why this Family Yearbook System is my go-to:
- Unlike the photo-albums our parents have, you do not have to print individual photos. That is time consuming, expensive & they don’t always hold up well over time! Instead, design & print ONE book at the end of the year that includes it all!
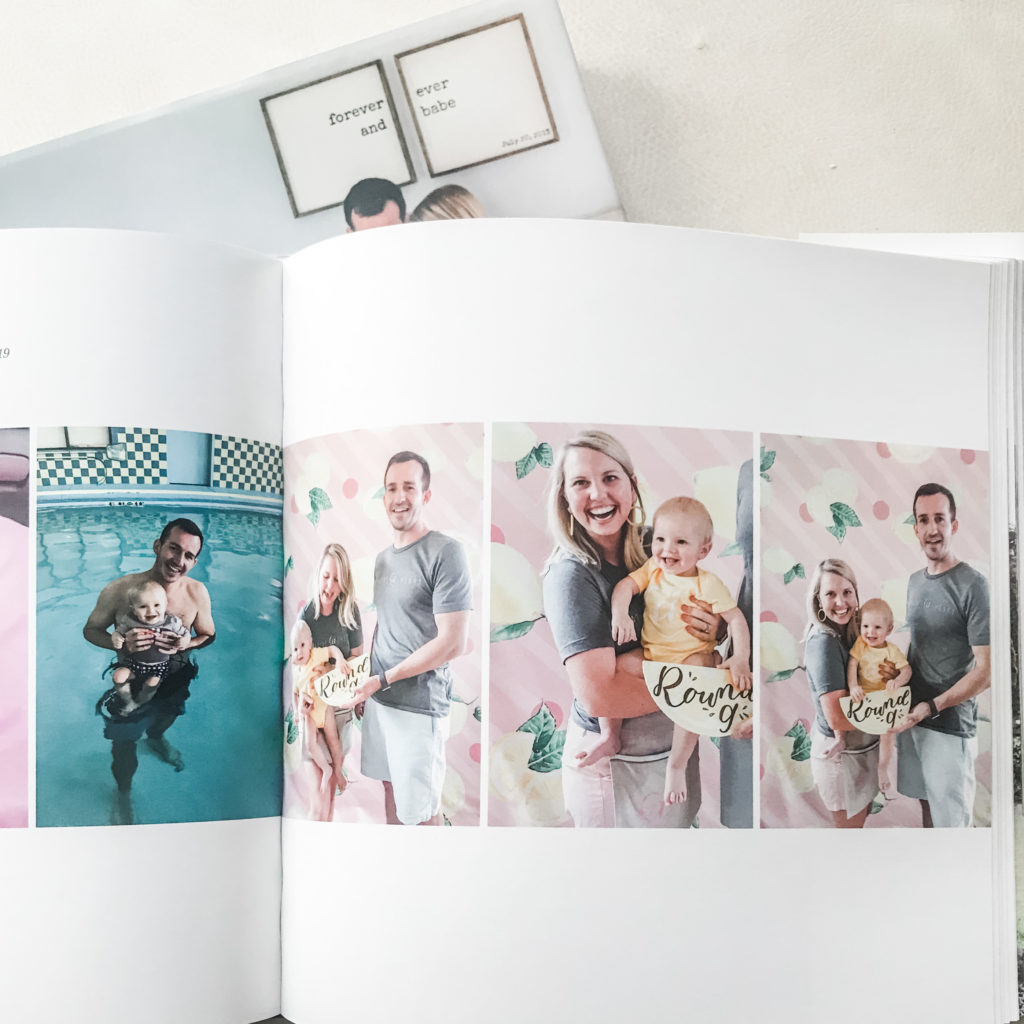
- You can add text throughout the book to caption various moments / memories, or remind yourself of the date or the location.
- 80% of the images in my family yearbook are phone images and they work PERFECTLY! You do not need to be a professional photographer to capture photos for the book!! Some of the photos I include are grainy or blurry but I don’t care — a special memory is a special memory & if I want to include it, I do! Give yourself permission to include WHATEVER you want, knowing that you’ll look back when you’re 80 & be glad you did!!!! 🙂
- It will work whether or not you have kids!! I WISH I did this before we had kids & actually have it on my “long term project list” to go back and create books for the first 5 years of our marriage pre-kids!!
- If you DO have kids – it’s great to not have to stress about what photo goes in which kid’s book. Our family has ONE book to document the ENTIRE year and that includes ALL of our kid’s big moments, family trips, holidays, etc!
- I use Artifact Uprising to create my family yearbook and I’m going to explain my process with you in this post! If you’d like to use AU for your family yearbook, click here to get $20 off!
Ready to create your first Family Yearbook? Here’s my process:
Step one: take photos
Don’t shy away from capturing family memories. It’s not always about the perfect light or the matching-family-outfit. Sure, those moments can be beautiful BUT don’t let perfection stop you from capturing WHATEVER you want to capture!!!
Step two: save your photos to Dropbox
Dropbox is a great tool to use to back-up your photos. Here’s how I keep them organized:
I have a Master Folder on Dropbox titled PERSONAL PHOTOS. Inside I have Subfolders for the year (example: 2019, 2020, 2021). Inside each year’s folder, I have 2 albums: iPhone Pictures + Professional Pictures.
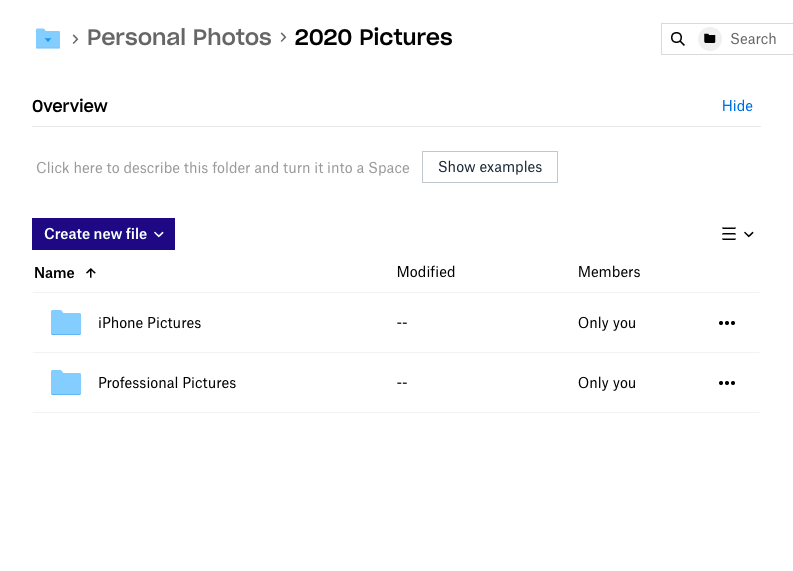
Every month, I use the Dropbox app on my phone to manually select a month’s worth of photos & save them to the “iPhone Pictures” album. Easy-peasy!!
Dropbox will save images with the file name “Photo MONTH DATE TIME”. You can see in the image above “Photo Apr 01 09 00 48 AM”. This is VERY helpful when it comes to creating the Family Yearbook so check your settings & be sure it’s set this way. (I’ll explain why it’s helpful in just a bit!)
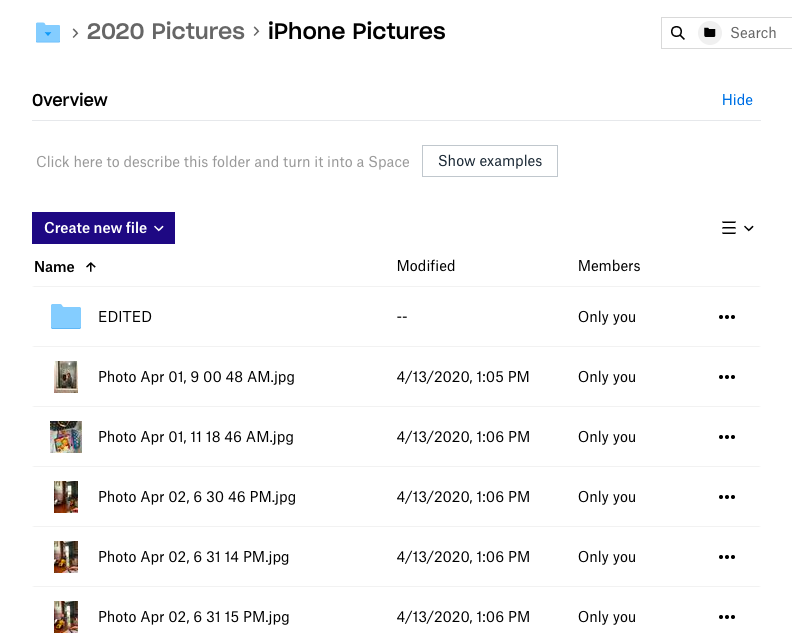
I save every single photo I’ve taken for the month. I do not go in and cull them (“Cull” is a fancy way of saying “select the best ways / your faves”).
EXTRA STEP: edit your fave images
^^ This step is not a must-have, however I’m including it because it’s much easier than you think!
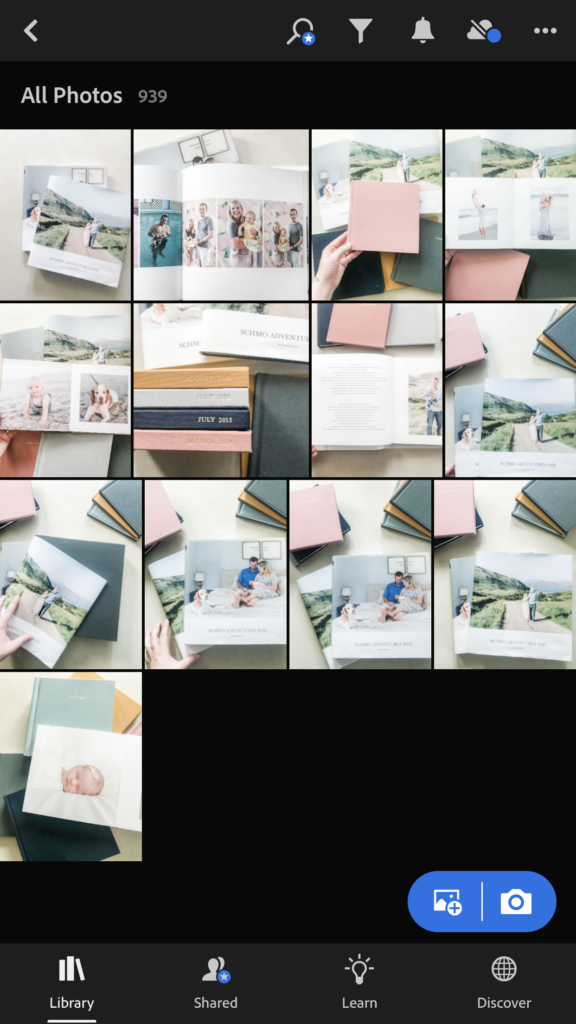
Every month, I go back through the photos on my phone & upload some faves into the Lightroom App. Inside of Lightroom, I have presets that allow me to quickly edit the images! (Seriously – one click magic!) I also crop or resize images if I want to, too.
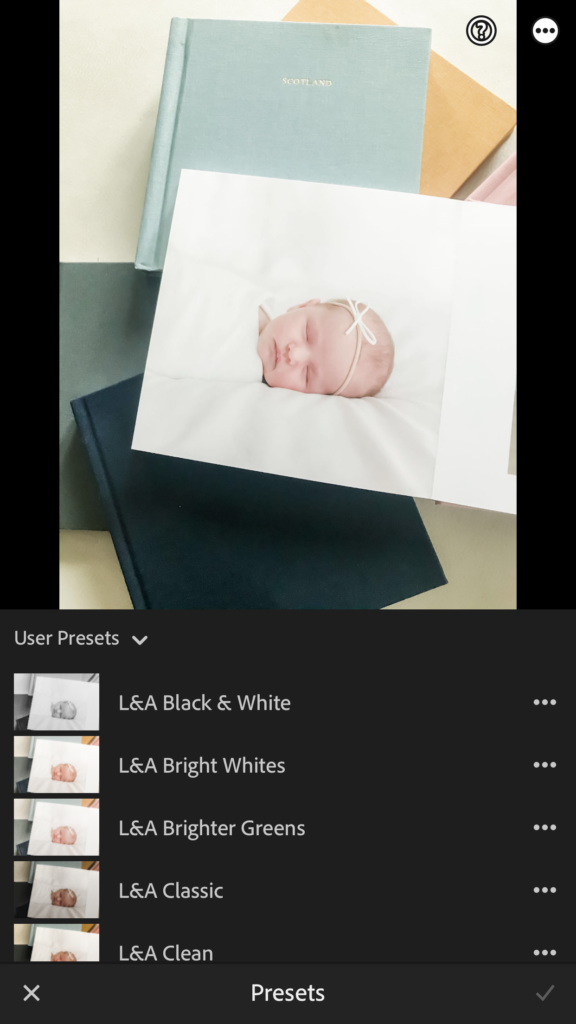
After I edit the images, I export them from Lightroom back to my iPhone Camera roll & then into my Dropbox in an “Edited” album inside of my iPhone Pictures folder.
Some months I edit a LOT of photos, other months I hardly edit any. When I’m creating the Family Yearbook, I know to pull those that I have edited & mix them in with the candid or not-as-great-quality-but-still-good-memories from the month!
A few of the presets I use: Veil and Light & Airy!
Step three: create a Family Yearbook with Artifact Uprising
I love using Artifact Uprising to create our family yearbook!!
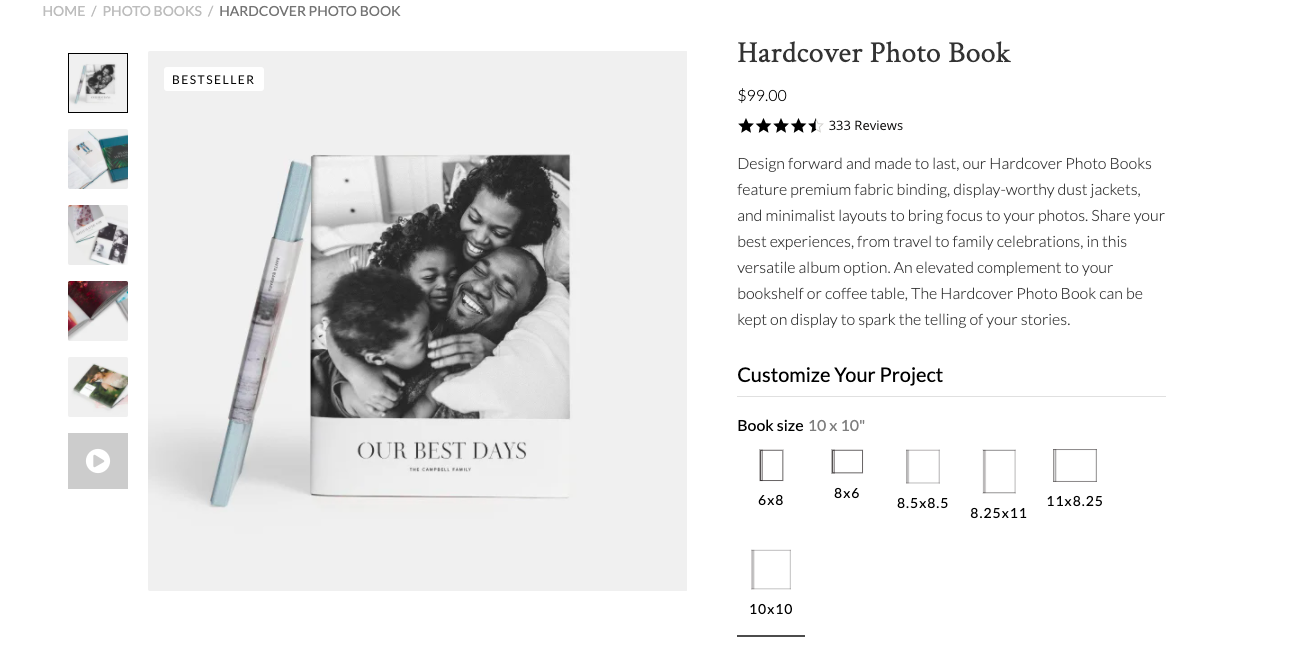
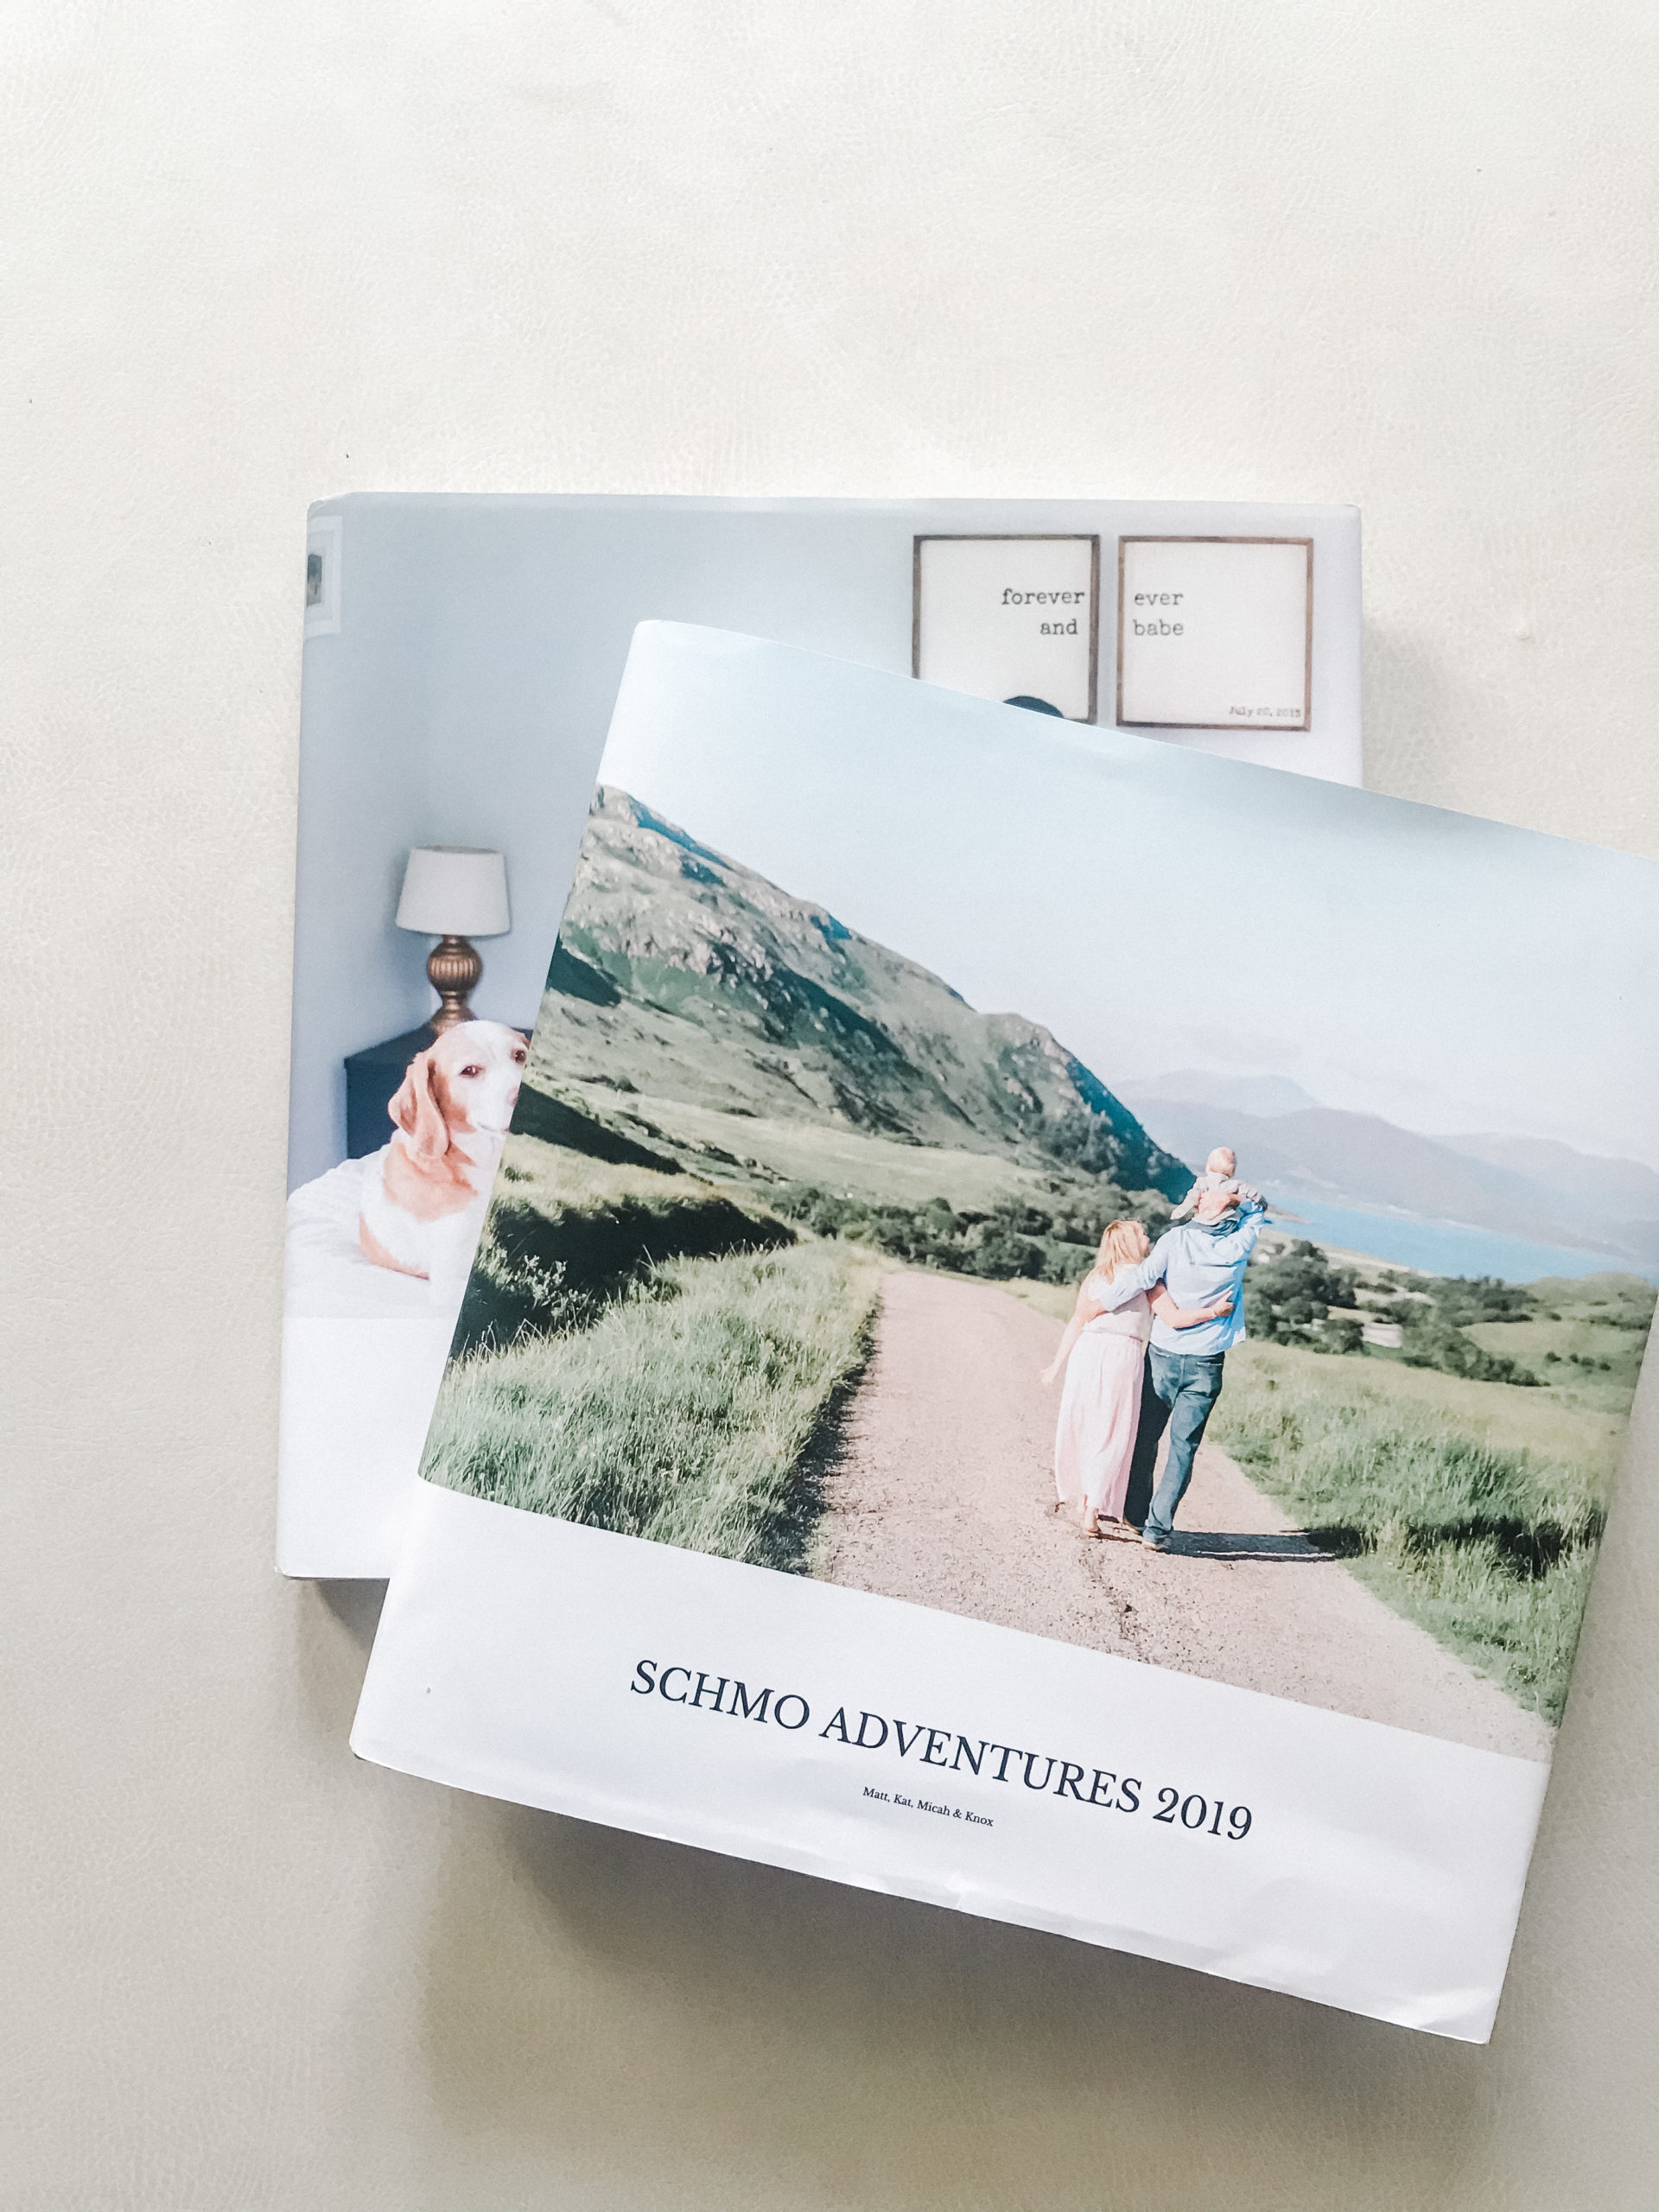
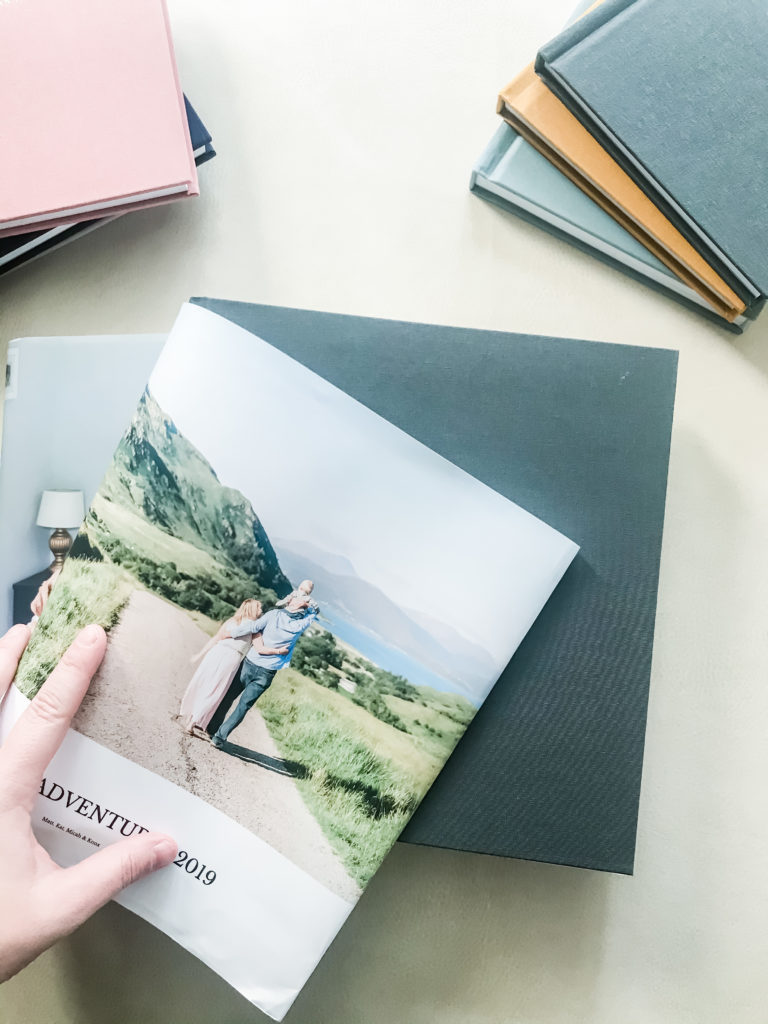
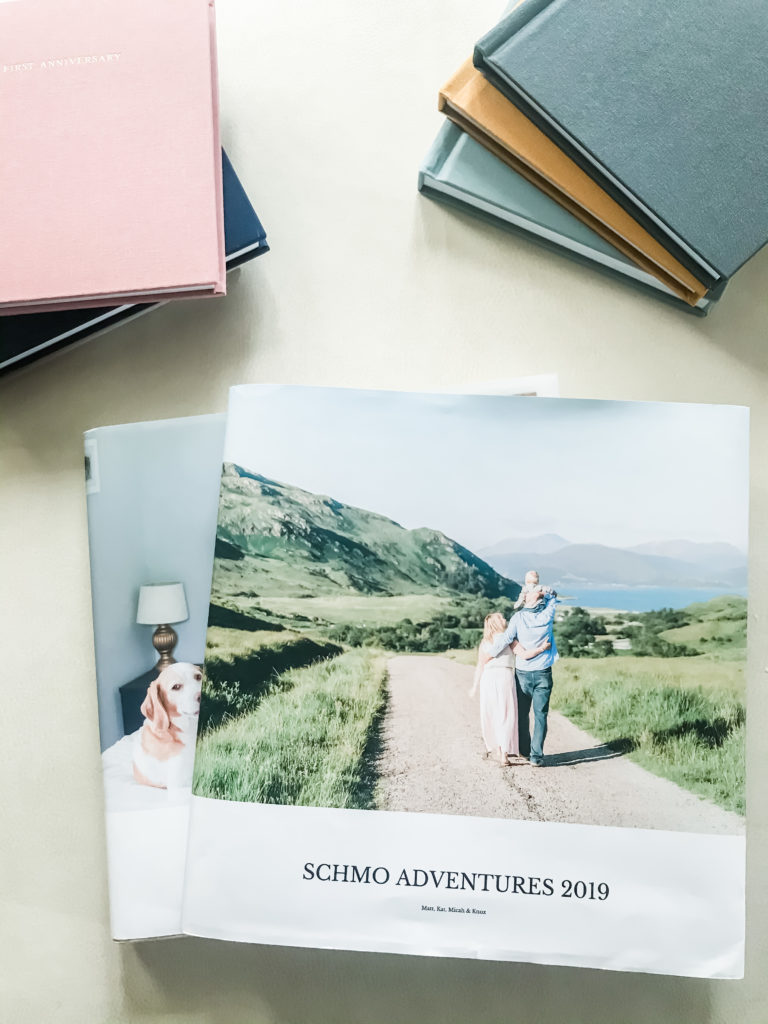
I use the Hardcover Photo Book:
- 10×10 size
- Full Book Jacket
- 150 pages (and then I always add extra pages and have approx 200 total)
I love that this particular book gives me the ability to add text and have a variety of layouts within the book. The pages are also high quality, and I like the linen cover. I DO wish the linen cover had the title of the yearbook because the book jacket is a little flimsy. They have recently come out with a Photo-Wrapped Hardcover Book that looks amazing, but it’s not 10×10 size and I LOVE the larger 10×10 size.
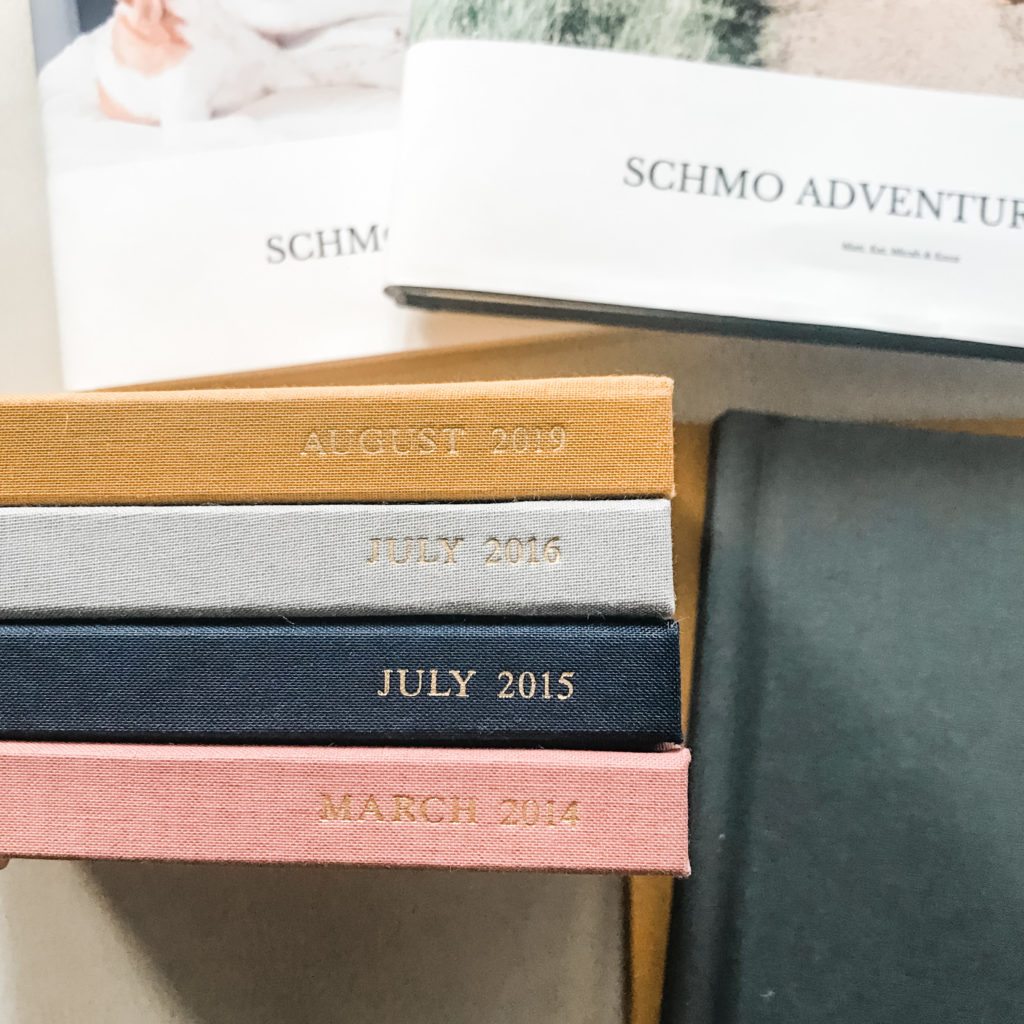
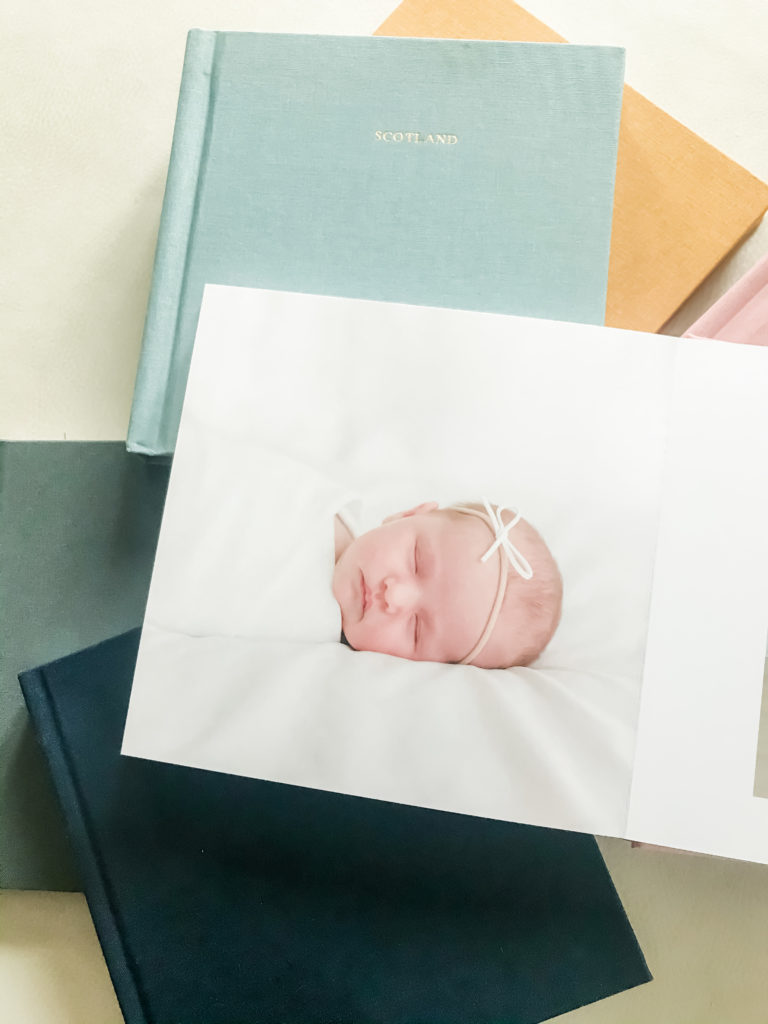
I also use Artifact’s Everyday Photo Book for our professional family sessions and big family trips. I LOVE these books! Perfect size, high quality paper & durable with toddler hands! Micah loves to grab our books & flip through them throughout the day. The linen is also gorgeous & I love the foil!
You can create your Family Yearbook slowly throughout the year (keeping it as a saved Project) or batch create at the end of the year. I choose the latter & love sitting down in December or January to create my book!
If you’d like to create a book with Artifact Uprising, CLICK HERE for $20 off!!
Here’s how to create your book with Artifact Uprising:
- Create an account FIRST so that whatever you do is saved to your account!
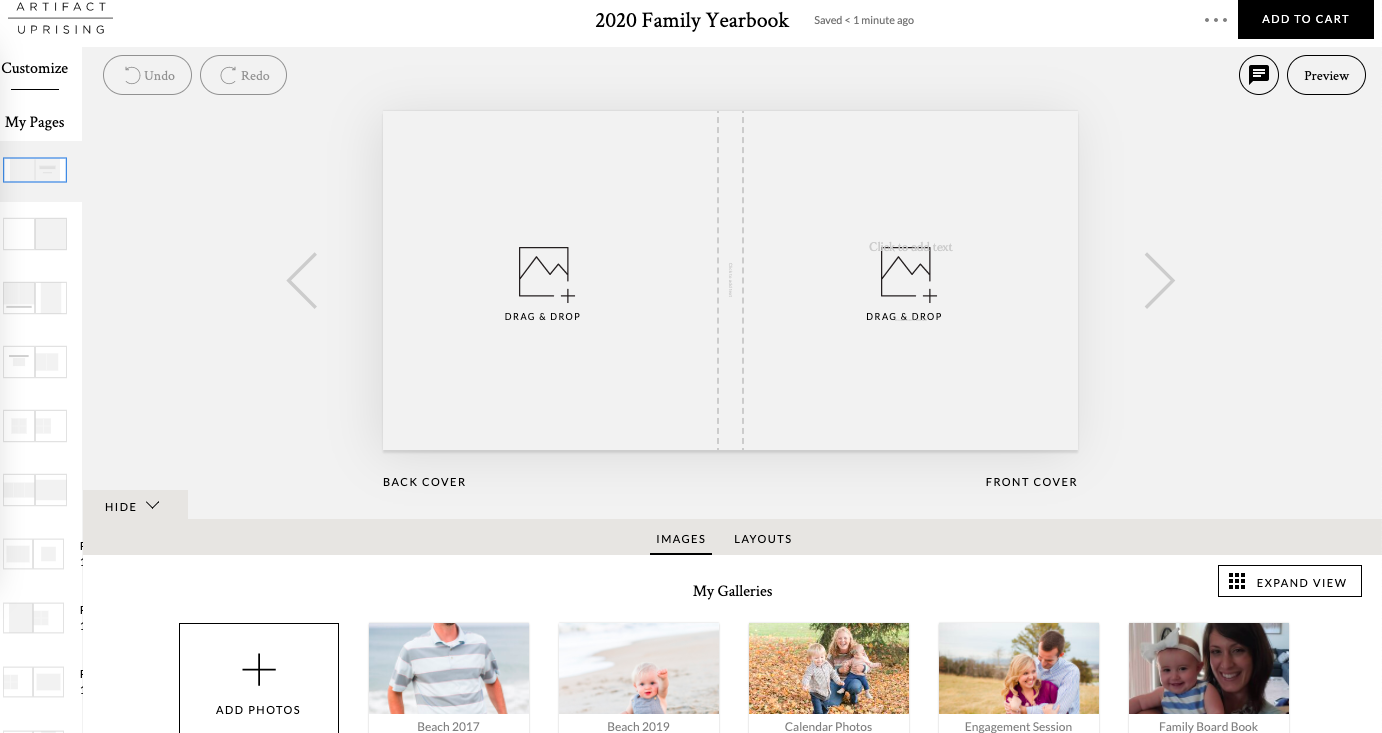
- Once you’ve selected the book you’d like to create, the AU Editor will open:
- Rename your book. The editor will begin saving automatically & this book will now be in under “My Projects” in your AU account.
- Click “Add Photos” and then add photos directly from your Dropbox!
- I import in one month increments. This is why it’s important to have Dropbox save your iPhone images with the title: “Photo MONTH DATE TIME” . Because your photos are saved with the Month they were taken in the title, it’s easy to select ONE month at a time & add to AU’s editor! I will then design January’s photos without getting distracted by the other months. After I’m done with January, I add / design February… and so on & so on!
- If you have professional photos to add to your book, too, add them in with their appropriate month.
- I add text to my book to highlight big moments (example: “Micah’s first steps”), vacations, holiday celebrations, etc.. I do NOT stress over captioning every single photo!
- I mentioned before that I use the Everyday Photo Book for big family trips and professional family sessions. I started doing this because I wanted to be able to go all out & document ALL the photos from a trip / session, yet knew I couldn’t dedicate 50 pages of a 200 page Family Yearbook on ONE trip!!! Example: when we traveled to Scotland I made an Everyday Photo Book of the trip. In our Family Yearbook, I highlighted a few fave images on 2 pages so it’s still a part of our Family album but the bulk of the images are in their own Everyday Photo Book.
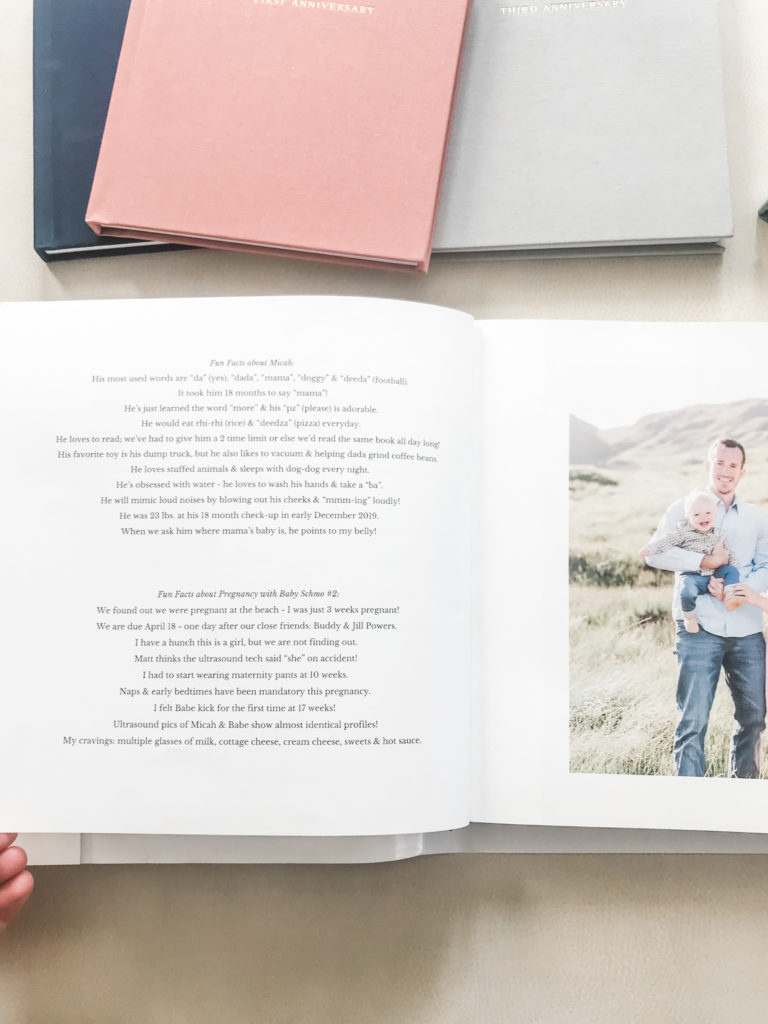
Once I’m done designing, I add a blank page to the beginning of the book and use this for a Summary of our Year! I love writing a paragraph or two in reflection of the year, and including a Bible verse. I also include highlights on each of the kids! I love writing down big moments for them, words they’re saying, favorite things, etc. and know that I’ll look back and LOVE reading this section in years to come!!
Few other tips for designing:
- You can “clone” projects so if you are creating this as a gift but want to make tweaks based on the recipient, this is the easiest way to do that!
- When adding photos to the front + back cover, try to choose photos that are complementary in colors. I usually choose 2 from the same photo session so I know they will match well.
- Artifact will run promos all year long so I will keep books saved in My Projects waiting for the next sale! 😉
😍😍😍 CLICK HERE and get $20 off your Artfact Uprising Family Yearbook!
want 2 free trello boards?! I thought so 🙂
Pin an image below for easy-access! 📌
