


Hey y’all!! I’ve been breaking down some ways you can use Trello (my favorite!!) more customized for you and today I’m going to walk you through EXACTLY how to create covers in Trello. Whether you want to use one that’s already there or if you’re curious how to create a CUSTOM cover, I’m going to help you do it all!!
Before we get started, I want to remind you that I have an Ultimate Trello Bundles (aka 10 templates + 11 video trainings, created specifically for small business owners!) and while you’re at it you may as well grab my 2 FREE Trello Templates too!!
As I give you this quick tutorial, I’ll show you screenshots of a test board I made to help you visually follow along too!
What’s the difference between covers & labels?
Covers will cover the entire card, whereas a label won’t. I like to use labels when it comes to my workflows and I use a cover as a heading (like a big giant sticky note!!) to see goals for the month or sales coming up!
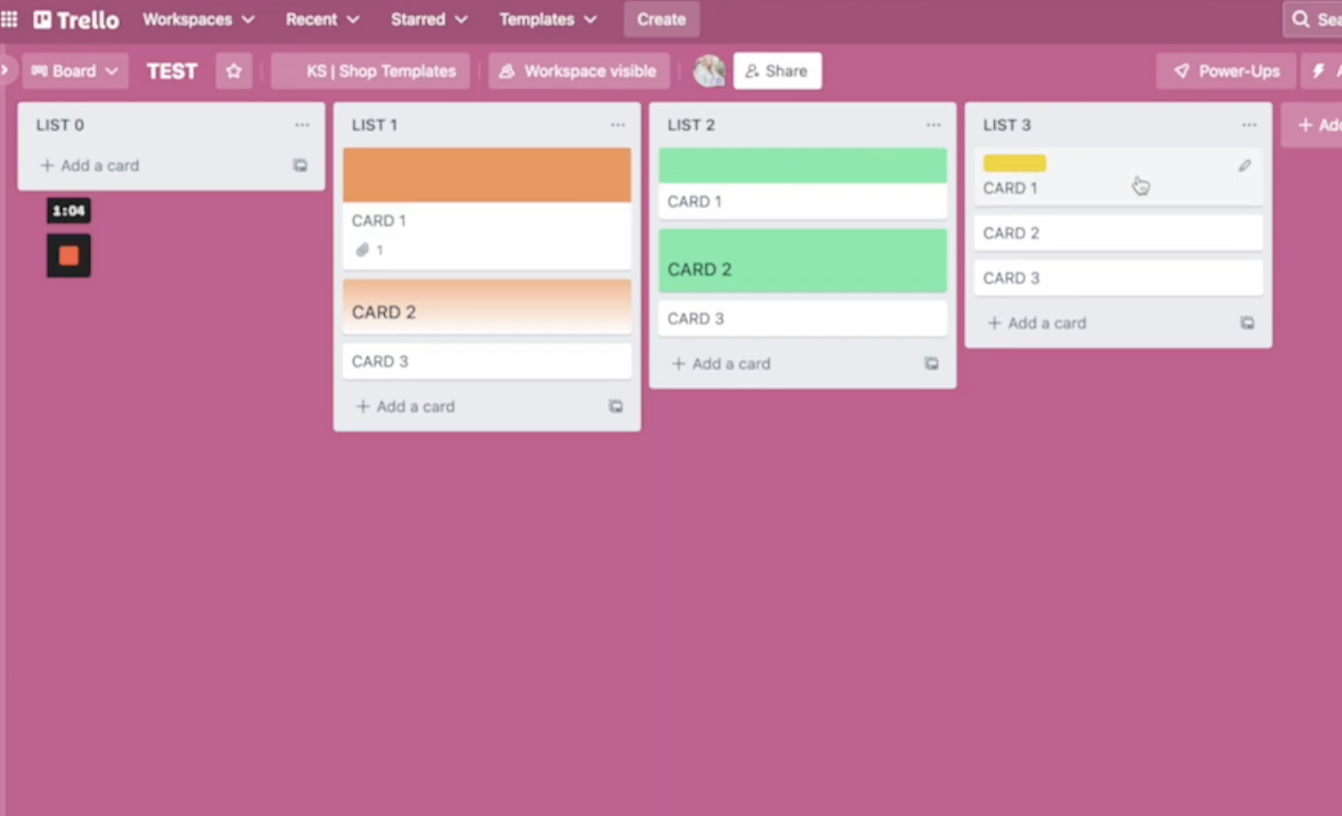
How to add covers to your Trello board:
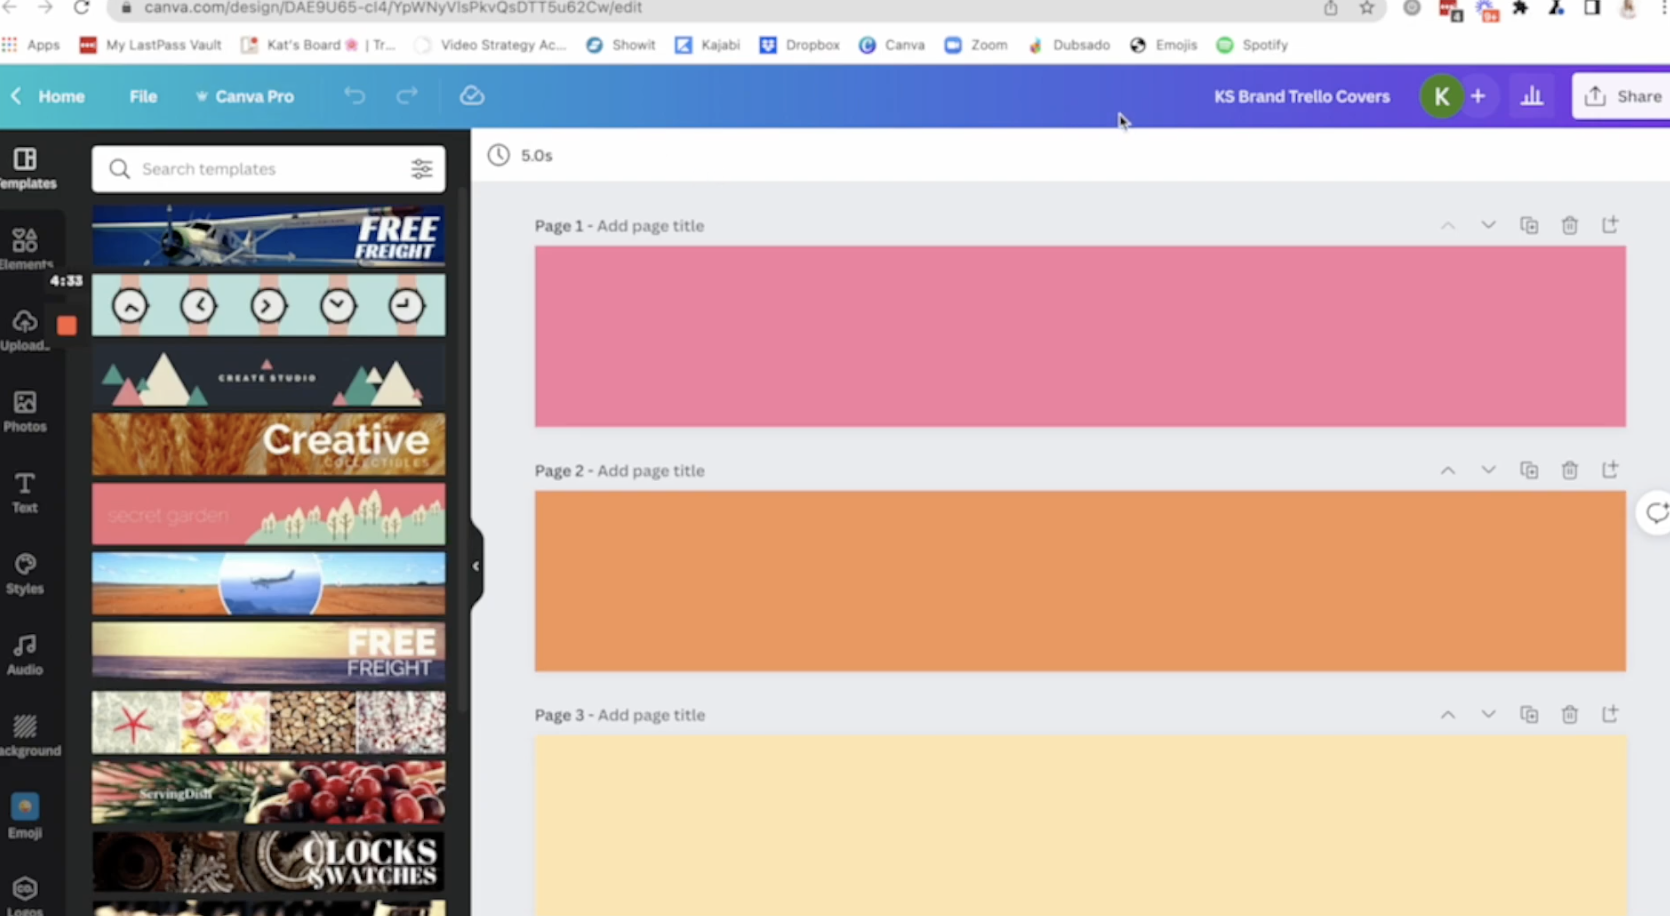
To create a cover on this Trello board, I’ll click the pencil and then click “Change cover” — this is where it allows you to select from a color within Trello, upload your own cover, or use one of their stock photos. I’ll show you how I make my own in a minute, so I could upload that here or just choose one of their colors & then I can select if I want it to cover the entire card or just the top bar.
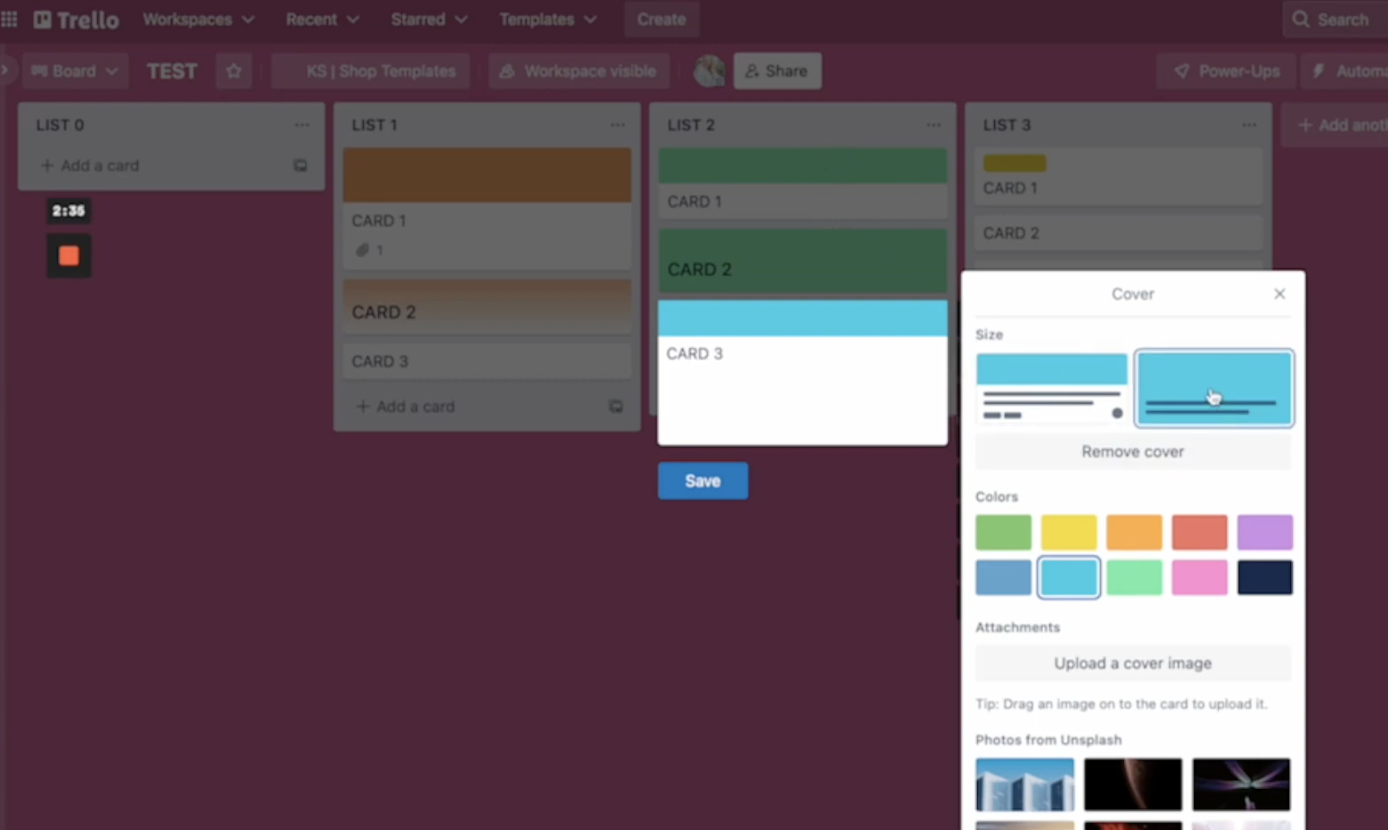
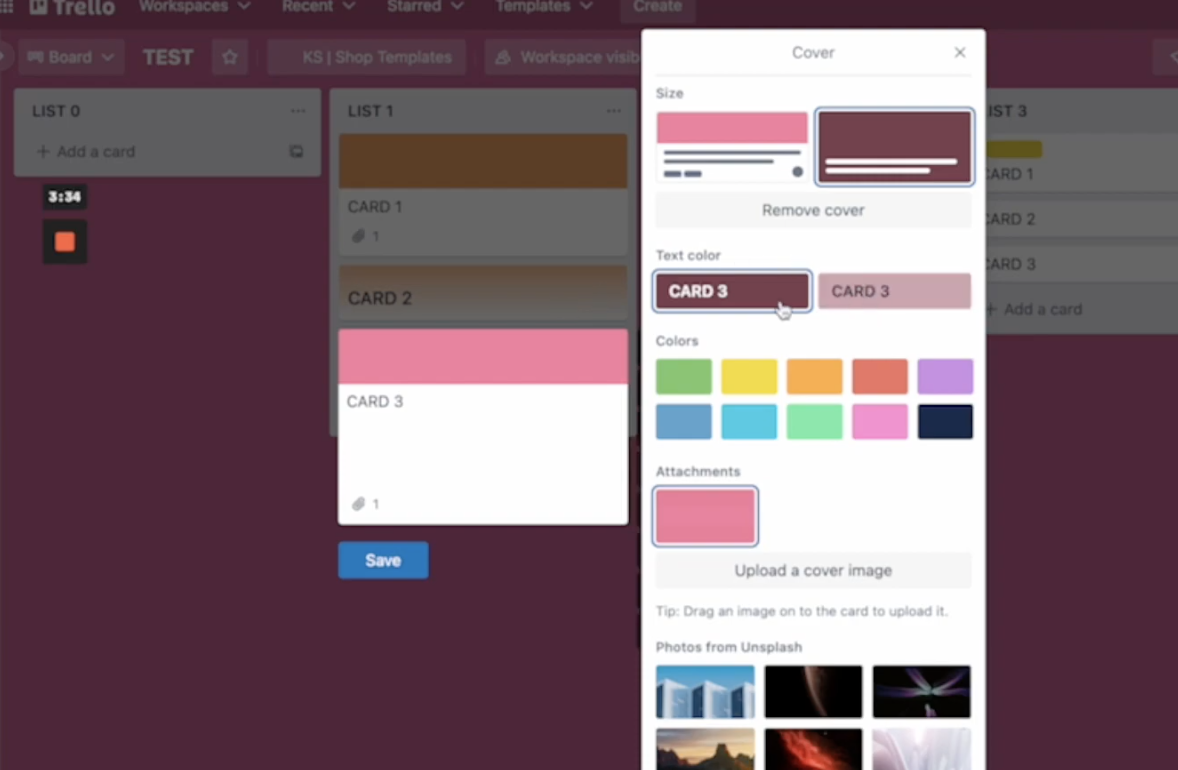
If you want to upload your own custom cover, you go back to the pencil, go to “Upload a cover image,” and once you find the file you’re looking for, you will find a few different options for how it’s used. In addition to customizing how much of the card is covered by your color, you can also choose if you want the text color to be white or the text color to be black.
My pro tip: I like using my custom covers because it’s really on brand! Seeing my branding colors makes me happy!!
How do you create a custom cover?
I have mine in Canva!! And it’s super simple!!
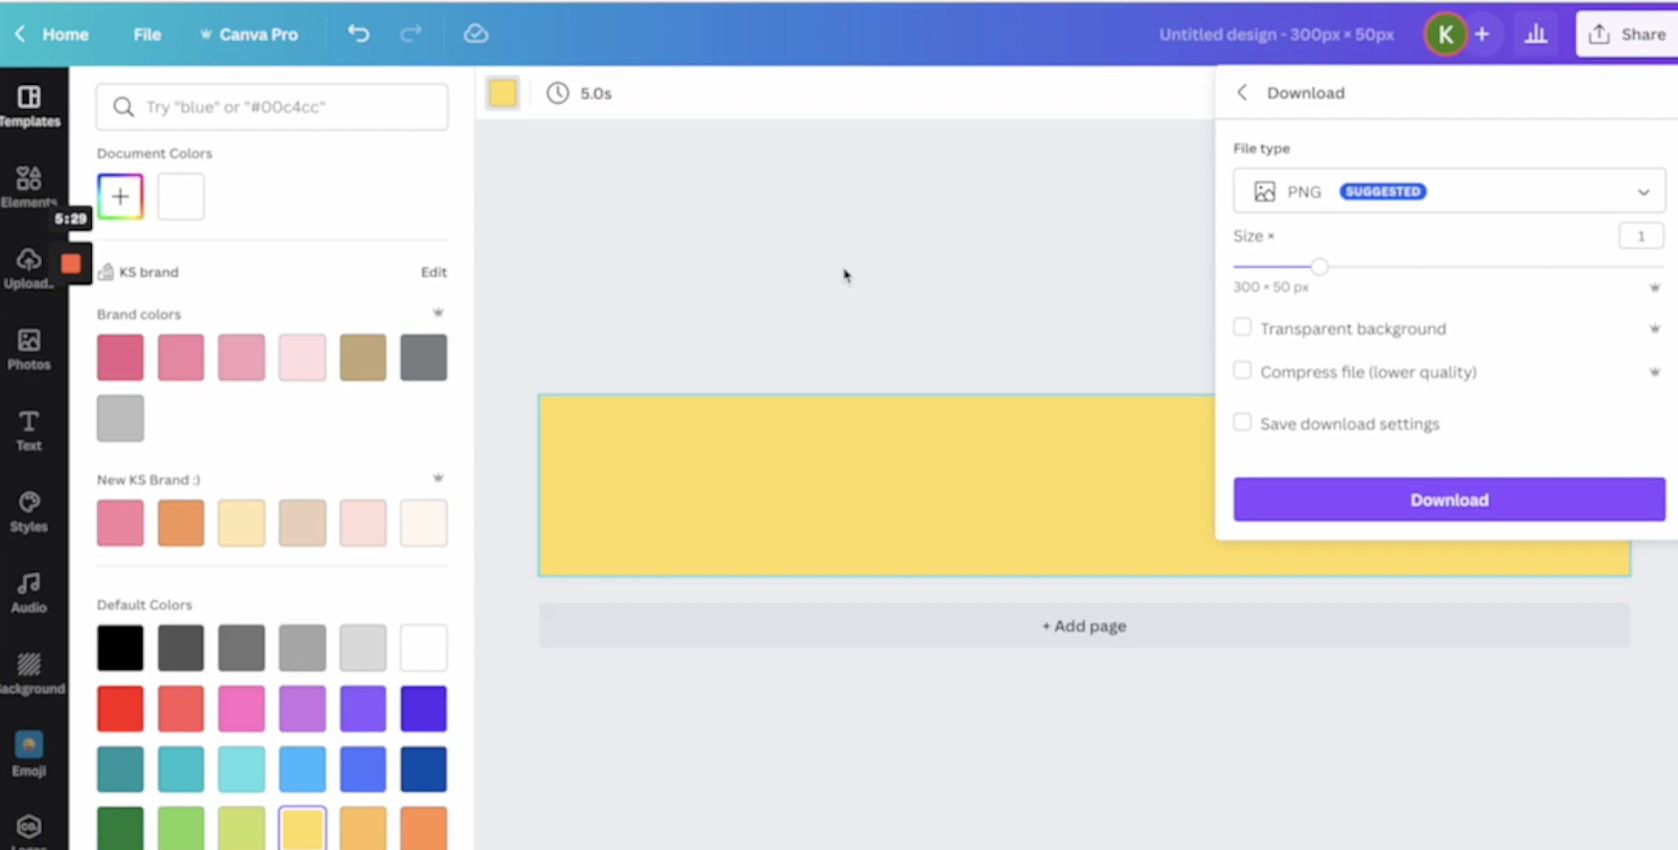
Go to Canva and create a 300×50 px design. (Select Create a design, then choose Custom size and enter in 300×50 px). That’s the design size I’ve found to mimic what this size is – I didn’t want it to be drastically bigger or smaller than what the standard Trello cover would be. Then you can customize it to however you want it to be. Once I’m done, I don’t do anything special to download it. I click Share, then Download as a .png file and upload it right into Trello!!
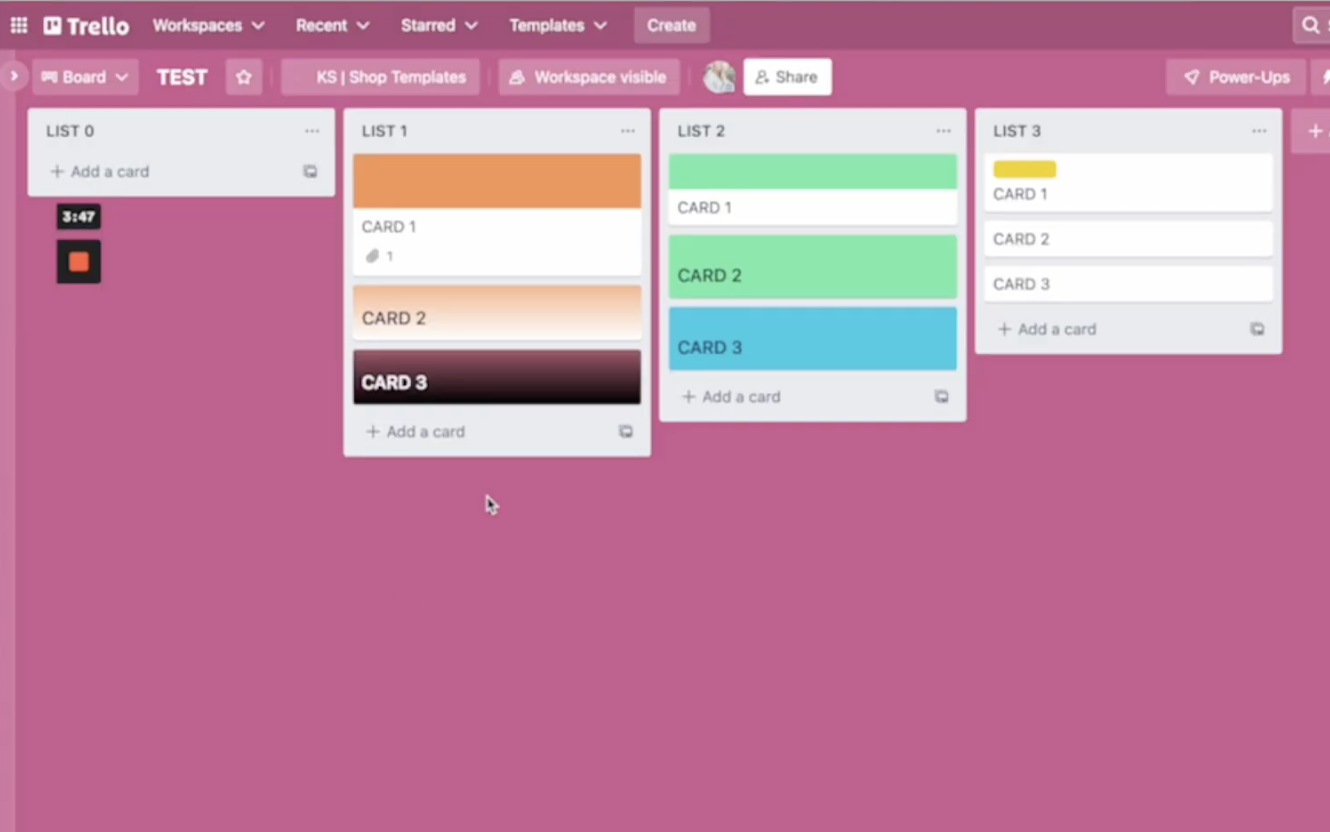
And that’s it!! It’s incredibly easy to create covers with your brand colors so that they can be a little more on brand for your business & look strategically at your board to visualize all moving pieces better!!
I hope these small customizations can help YOU feel more excited to utilize Trello even better in your biz!! If you have any more questions or want to hear more tutorials, let me know in the comments & I’d love to help!!! 🎉🎉


+ show Comments
- Hide Comments
add a comment