
Today’s Bride to Bride is a fun, easy and oh-so-simple DIY project I recently completed. Ladies, I’m telling you, this project would be fun for bridal shower, rehearsal dinner or wedding décor … and it won’t break the bank OR take too much time!!
DIY Candlesticks
Supplies: Glass Candlesticks: Target, Acrylic Paint: Michael’s, Paintbrush: Michael’s
Goal: To create fun, simple & cost-efficient décor by painting glass candlesticks
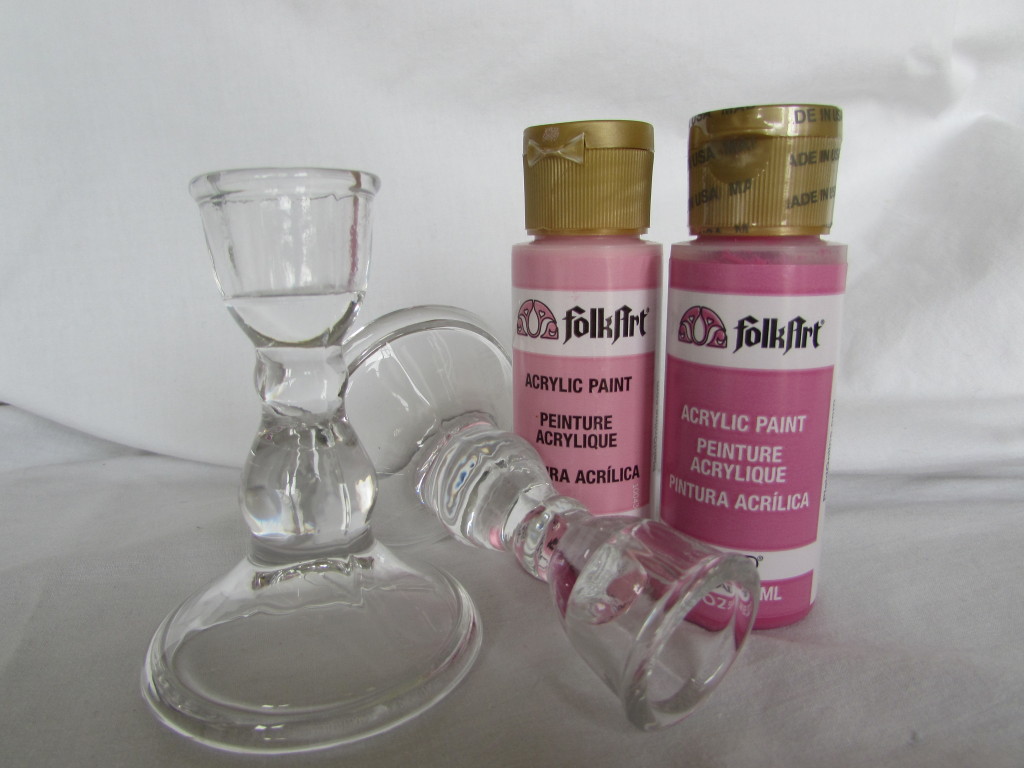
I used 2 shades of pink acrylic paint, one shade for each candlestick.

I started with the hot pink. I poured paint into an old plastic bowl, then flipped my candlestick upside down & began painting the bottom.

(See those bite marks on the brush? Yea, Knox thought it was play-time!)


Friends. This project was THAT easy! I painted the underneath of the candlestick so that when flipped right-side-up, you would see the bright pink through the clear candlestick. Candles are so popular for décor, and this gives the candlesticks a modern edge. You can easily adapt it to your wedding colors, shower colors or room décor colors!

I repeated the same process with the light pink, then let them dry over-night. (Tip: Acrylic paint is a thicker paint, therefore it does take longer to dry; don’t expect these to be ready in one hour!) Below is the finished product, colored taper candles & all!!


What do you think?! I just LOVE how they turned out… especially with the colored taper candles!! I think these might be making an appearance in a shoot sometime soon:) If you try this DIY at home, or use it in your wedding/party décor, send me a pic! I’d love to see!
xo!! kat
DISCLAIMER: I took this photos, so please don’t judge my photog skills too harshly!!!:)
ROOM CREDITS: Love Big, Big Love , Exodus 14:14 , Pink Floral Print (Discontinued Emily Ley print) , White Vase (Michael’s) , Love sign (Target) , Bar Cart , Taper Candles (Pier One)


